Admin users can Add the related products to Each and Every Product from Web Admin.
To Configure Similar Product (Enable Related Products)
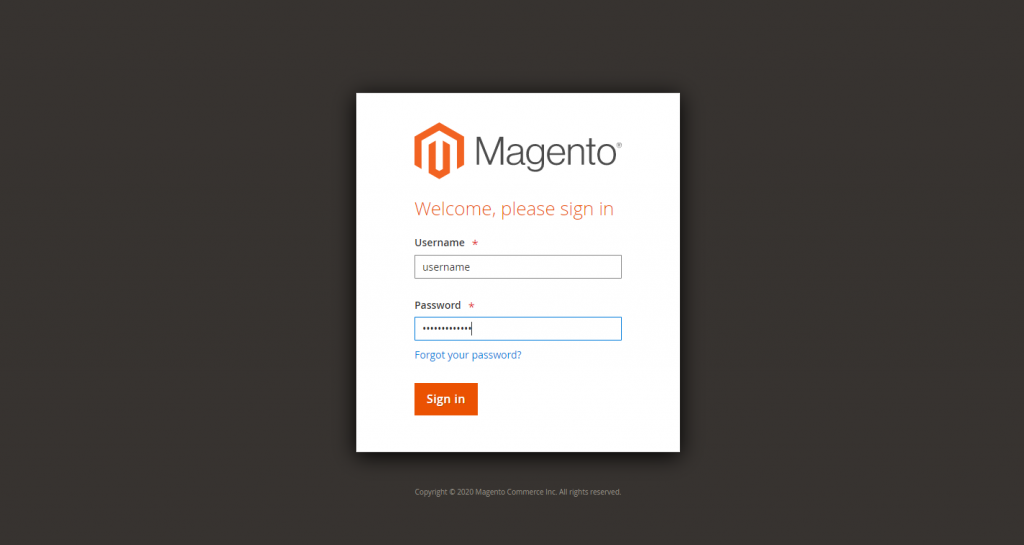
- Login to web admin using Admin login details.
- Enter the Web admin URL.
- In Login Form
- Fill the admin User name
- Username: like “administrator”
- Fill the admin Password
- Password: like “password@123”
- Now click the Sign-in button to Login to Web Admin.
5. Now the Web Admin Dashboard screen will appear
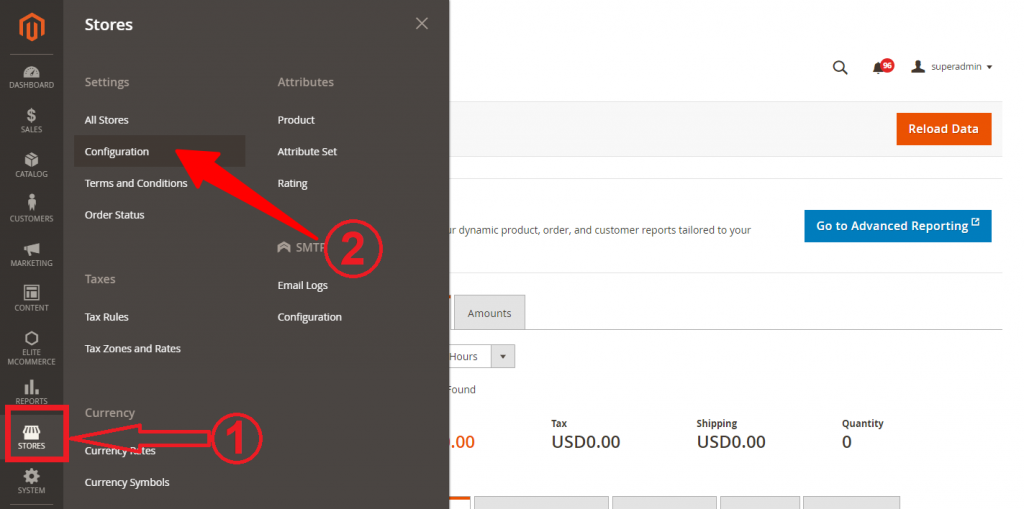
6. Click on the Stores Menu from the Hamburger menu.
7. Click on the Configuration Menu to navigate to the configuration screen.
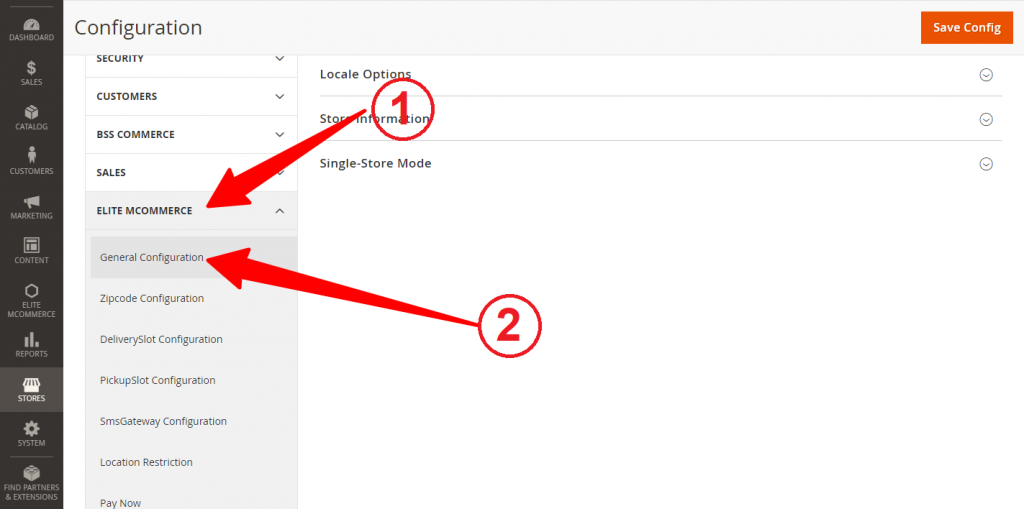
8. In the Configuration screen Scroll down to view the Elitemcommerce Menu.
9. Click on the Elitemcommerce Menu to view the Options. Click on the General Settings from the Elitemcommerce Menu
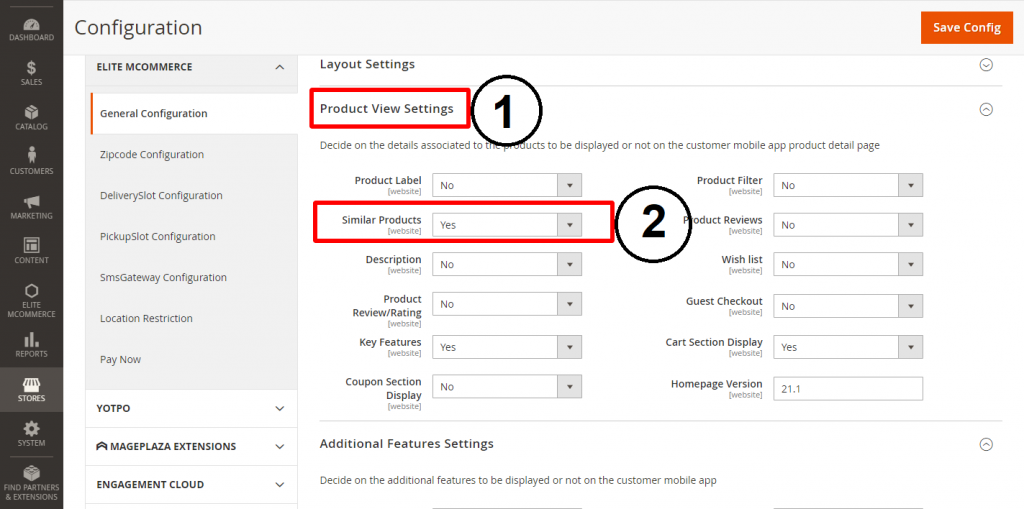
10. In the General Settings section scroll down to view the Product view settings.
11. Click on the Similar Products Dropdown menu to view the Options and Select Yes to Enable the Related Products Feature.
12. Click on the Similar Products Dropdown menu to view the Options and Select No to Disable the Related Products Feature. By Changing the Option as No for Similar product the similar products section will be removed from the website and User mobile apps.
13. After changing the Option for Similar Products then click the Save Config button to save the changes.
14. By Changing the Similar Products as Yes then only the Similar products will display in the Product Detail section for the User Application.
From Web Admin:
15. Login to web admin using Admin login details.
16. Enter the Web admin URL.
17. In Login Form
- a. Fill the admin User name
- 1. Username: like “administrator“
- b. Fill the admin Password
- Password: like “password@123”
18. Now click the Sign-in button to Login to Web Admin.
19. Now the Web Admin Dashboard screen will appear.
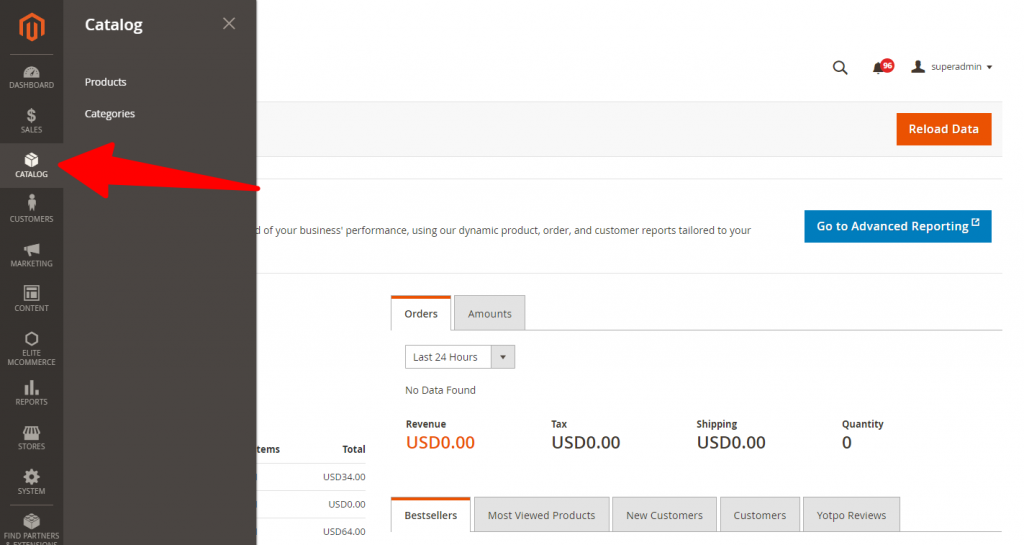
20. Click on the Catalog from the Hamburger menu.
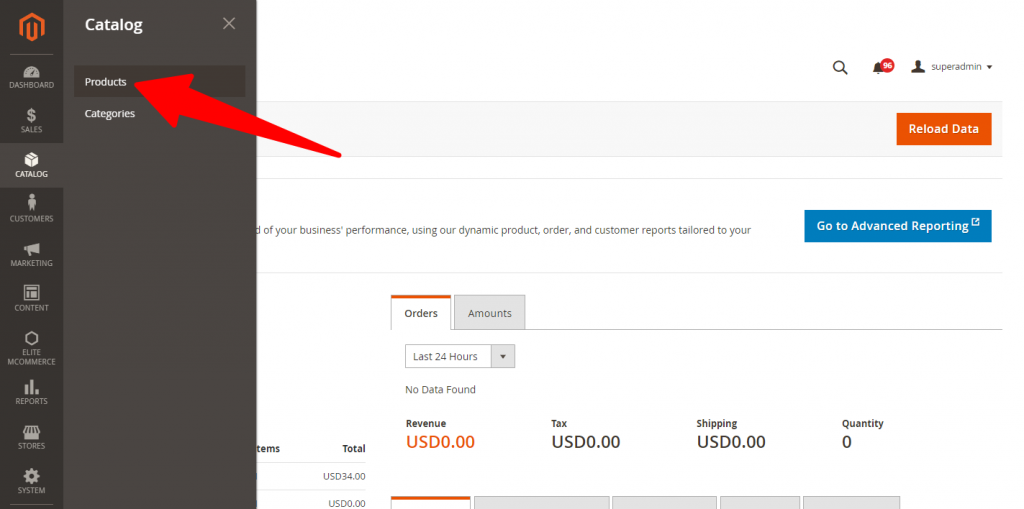
21. By clicking on the Catalog Menu the Submenu will be displayed.
22. Now Click on the Products Menu to Navigate to the Products list screen.
23. Now click on the “Add Product” Button to Create a New Product.
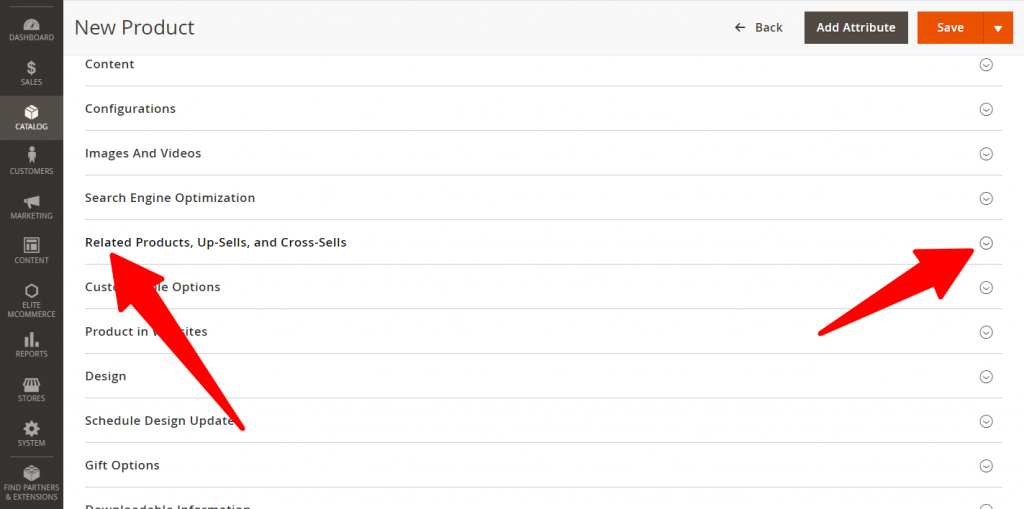
24. Now scroll down to “Related Products, Up-Sells, and Cross-Sells” Section.
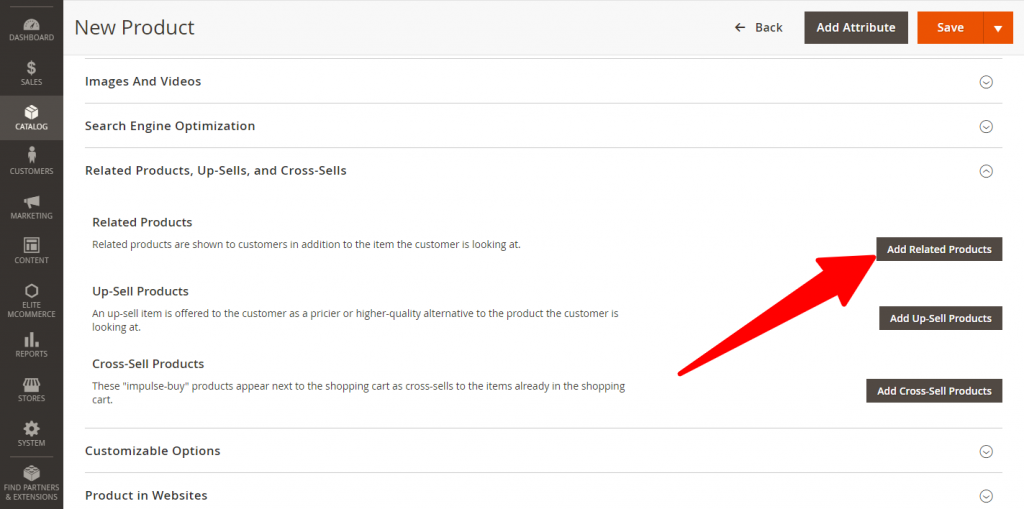
25. Click on the “Related Products, Up-Sells, and Cross-Sells” to View the “Add Related Products“ Button.
26. Now click the “Add Related Products” Button to Navigate to “Add Related Products” Screen.
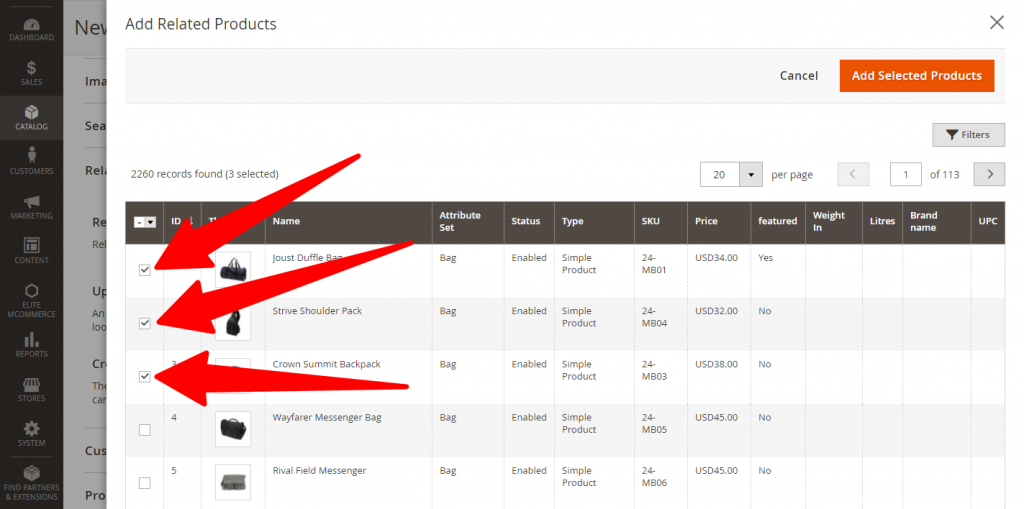
27. Here Select the product by clicking the checkbox for each product.
28. Now click the “Add Selected Products” button to add the products to the Related Product list for the New product
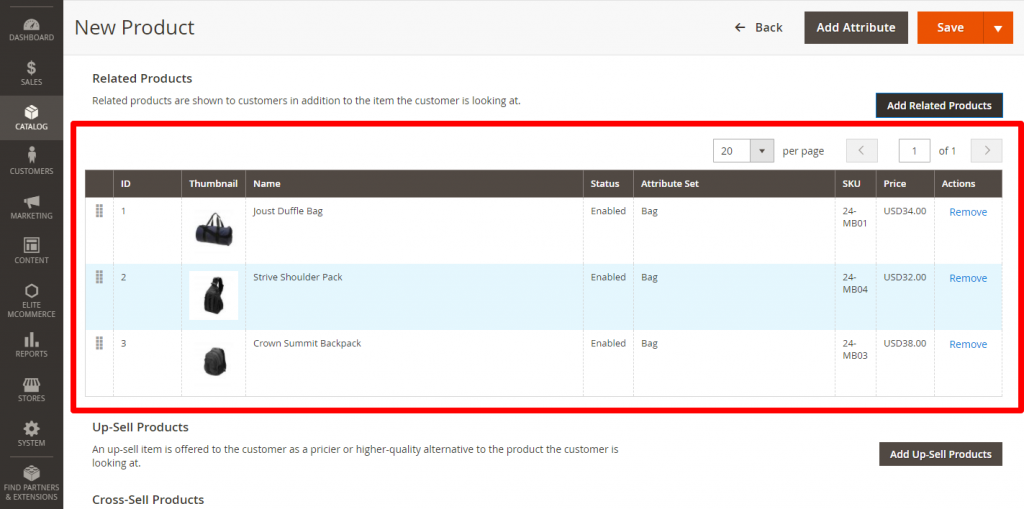
29. By Clicking the “Add selected Products” button, the product will be added to the Related
Products section to the New or Selected Product.
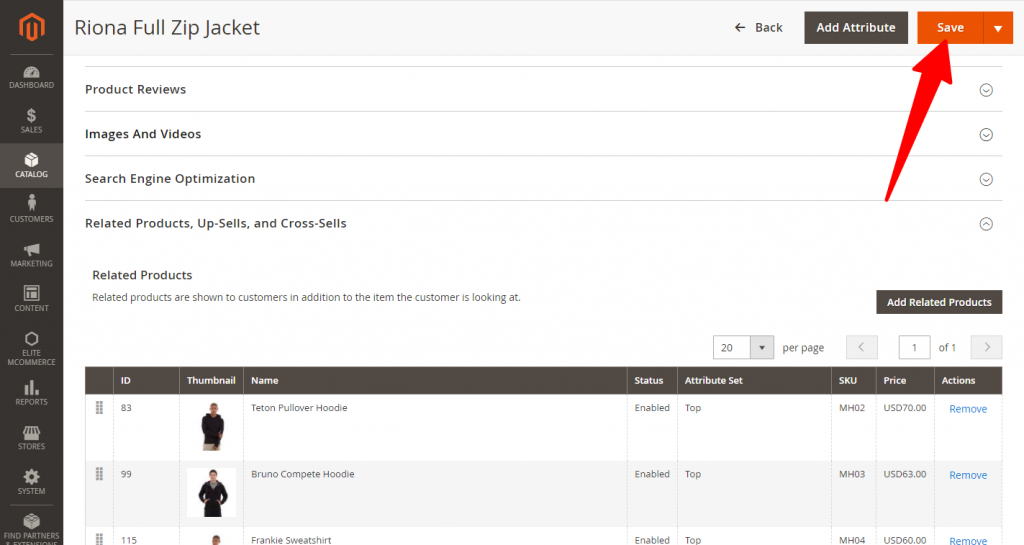
30. Now click the Save button to save the added products.
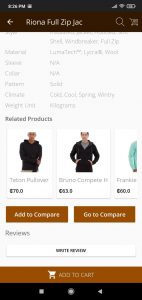
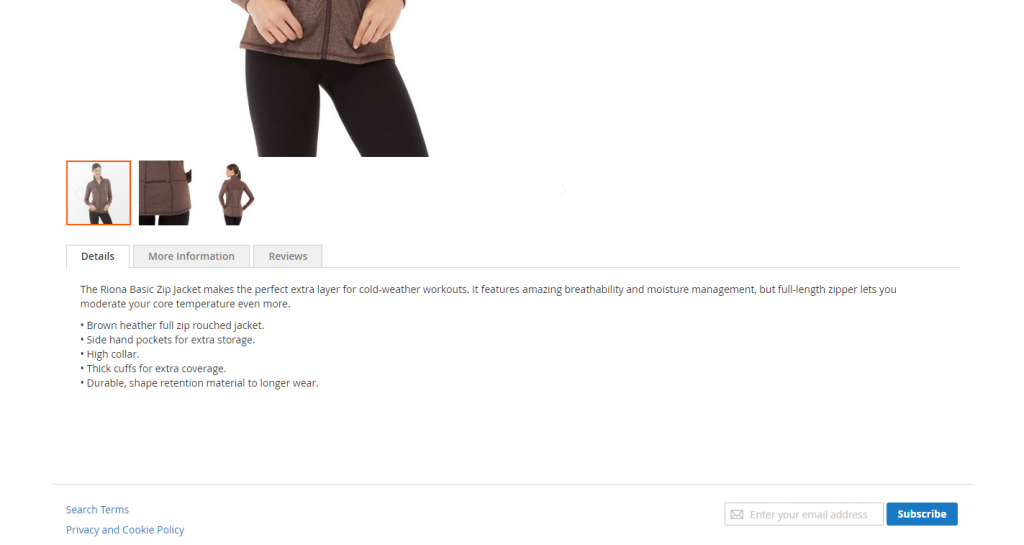
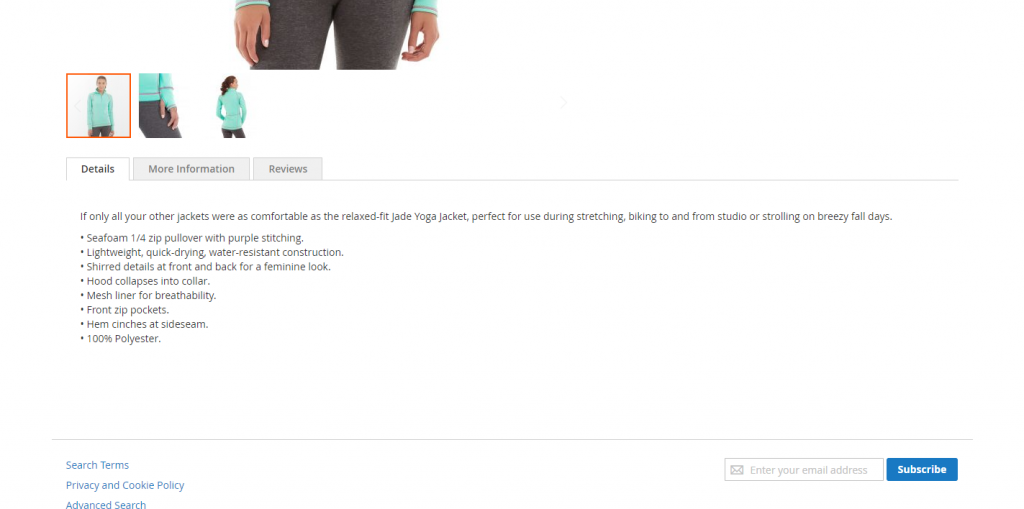
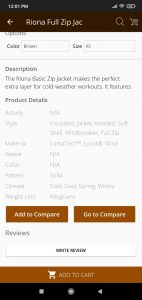
31.After Saving the Newly created or updated products, those products will display in the Website and User Mobile Application in the Respective Product detail screen.
32. The Related Products will display in the Scrolling section with more than 6 products.
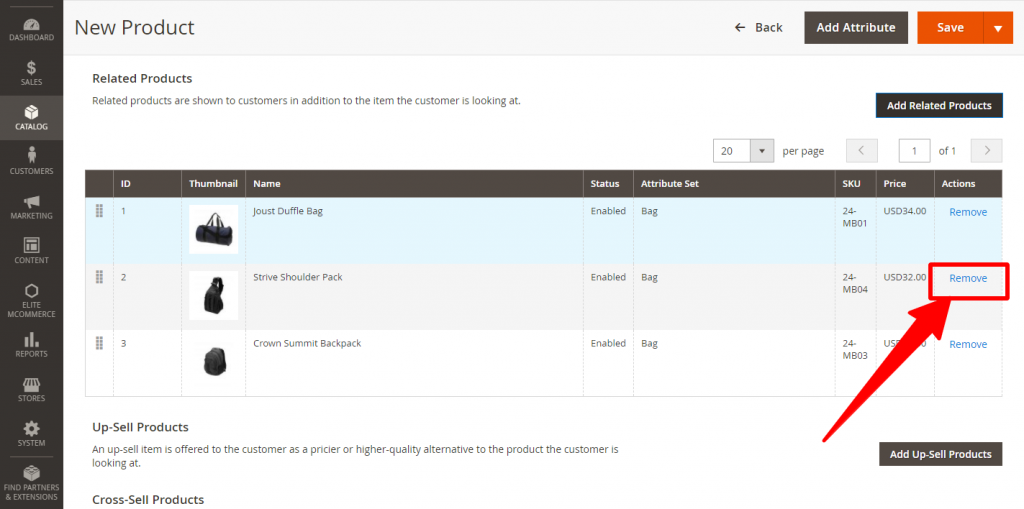
33. To remove the products from the Related Products section for the selected Product Follow Procedure Number 7 to 10 to view the already added products.
34. Click the Remove Button to Remove the Related products from the respective Product
35. By Removing the Related Products and clicking the save button, the Related products are removed from the Respective Product Detail screen.
36. The removed products should not display on the Website as well as the User mobile Application Product detail screen.

